All posts by Kerika

Kerika has a Workflow for Planning your Blog Content

If you’re a business owner or a freelance content writer, it’s important to have a content strategy. Without a solid content strategy, you end up wasting a lot of time managing your content.

By having a solid plan and sticking to it, you won’t have to spend time coming up with new ideas or scrambling to meet deadlines. One of the best ways to build a content strategy is to use a content planner.

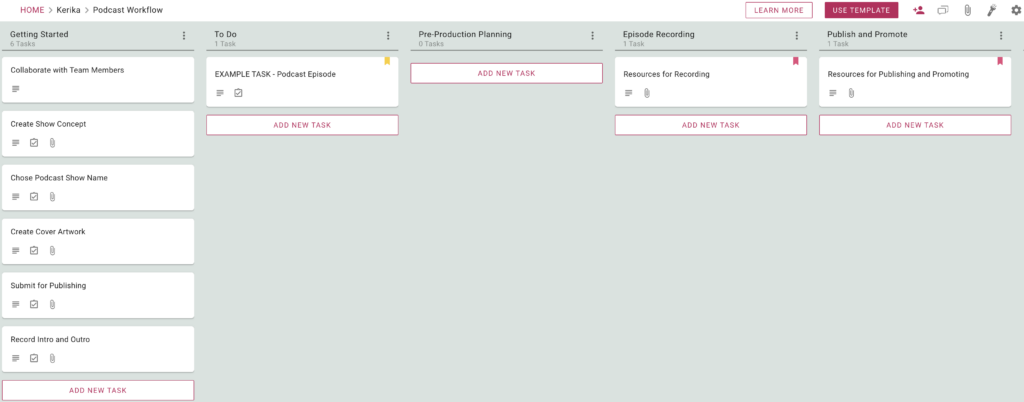
A Sample Board to View

Whether you’re working alone or with a team, a good content planner can really boost your productivity. So, let’s see how this company uses a content planner to plan and publish its SEO content.
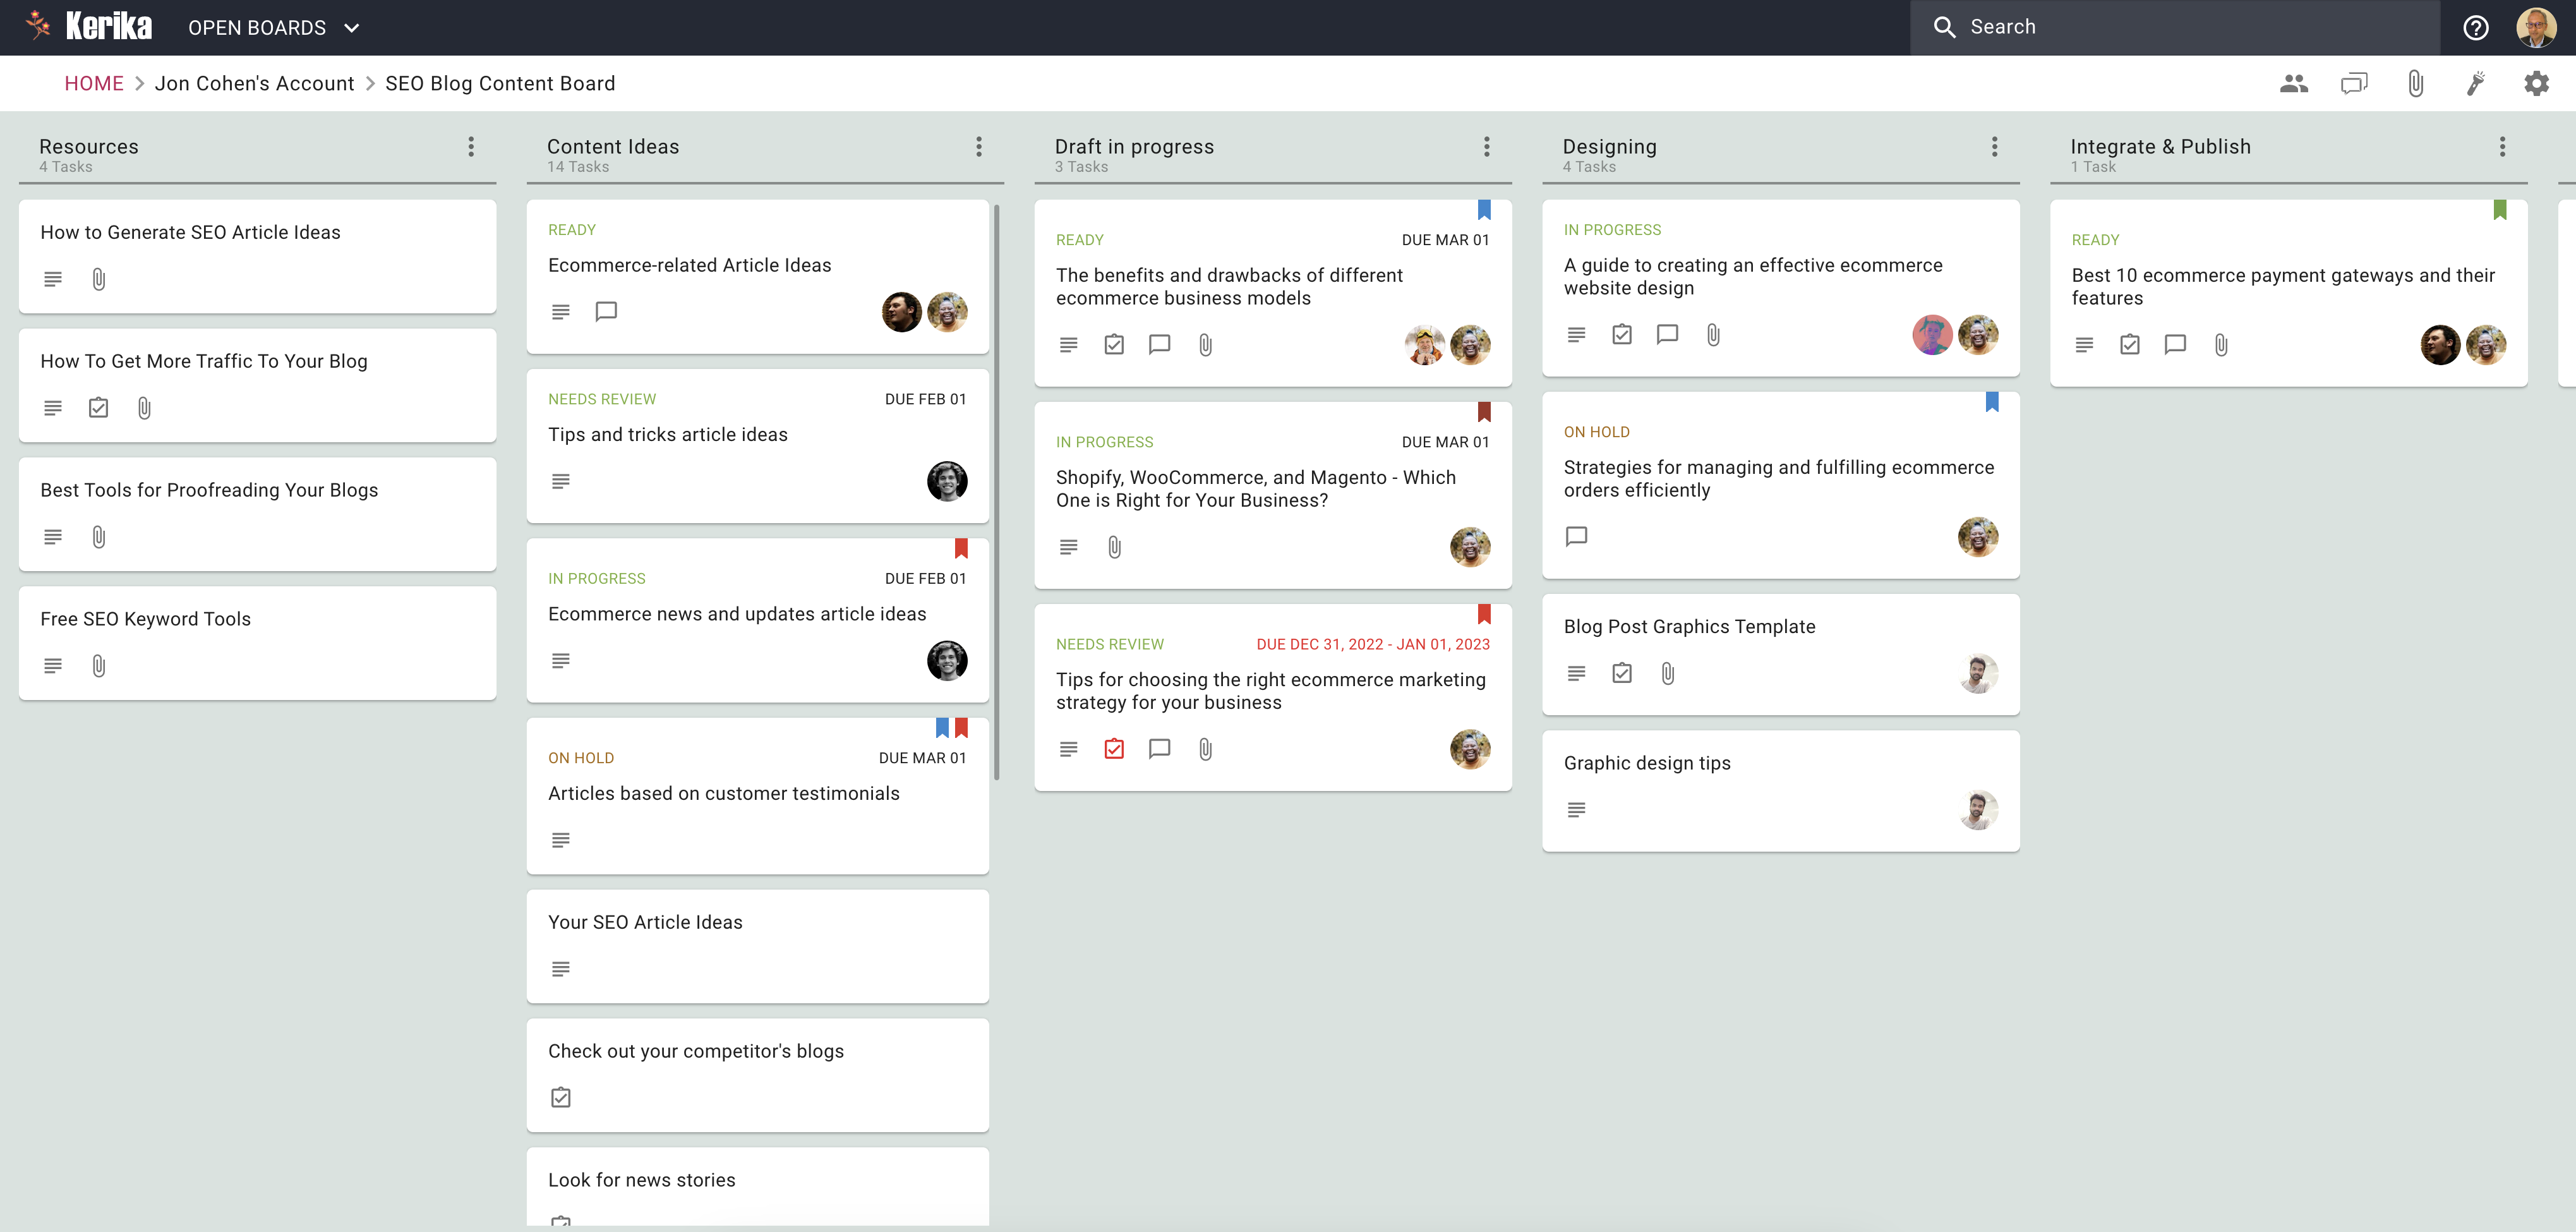
Click on this image to view this sample board, live!

A Free Template to Use

If you found this board interesting, here’s a free Template from Kerika that you can use to set up your own board in just seconds:
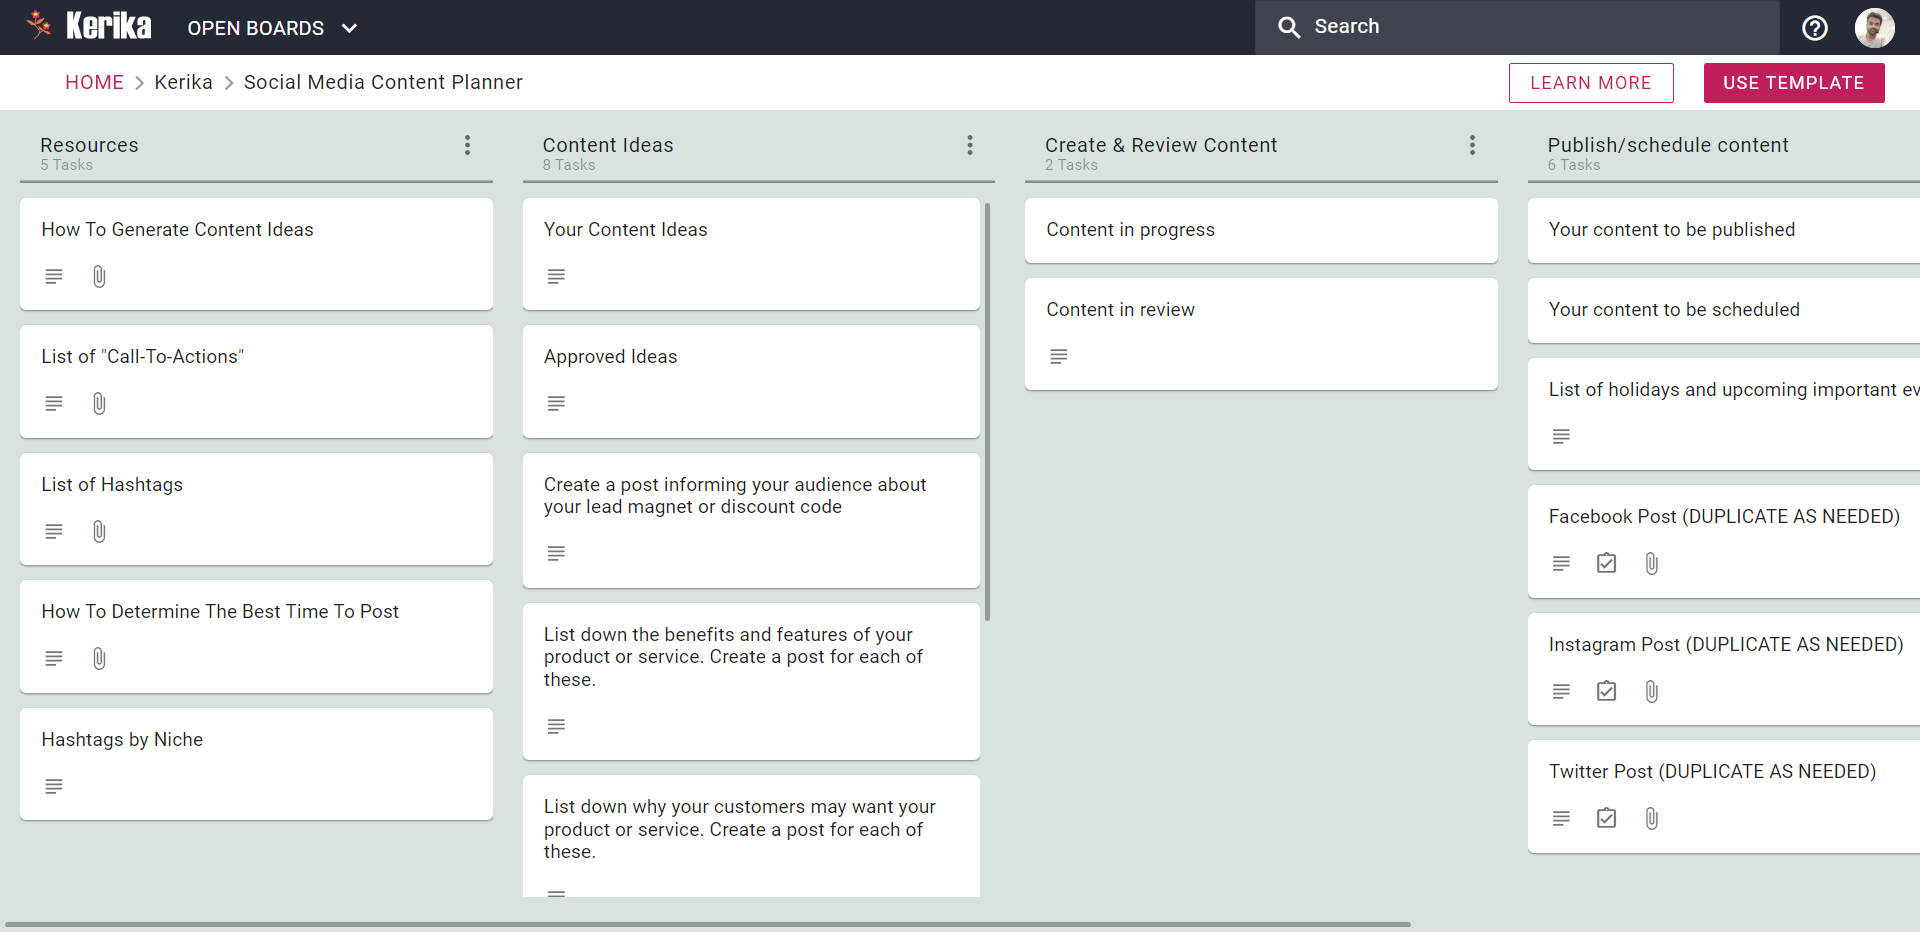
Click on this image to view the Template.

The rest of this article will walk you through the process of using this template:

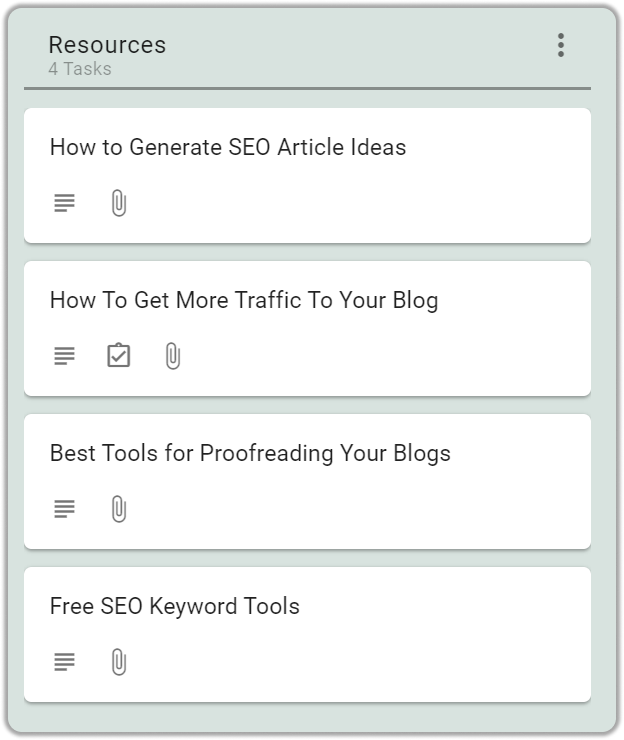
Step 1: Gather resources

If you’re a serious content writer, you already know the importance of gathering resources before you start writing. After all, you need to have something to write about!

One of the best ways to manage your gathered resources is to use a Content Planner. A Content Planner can help you organize your thoughts and ideas, and it can also help you find new and relevant information to write about.

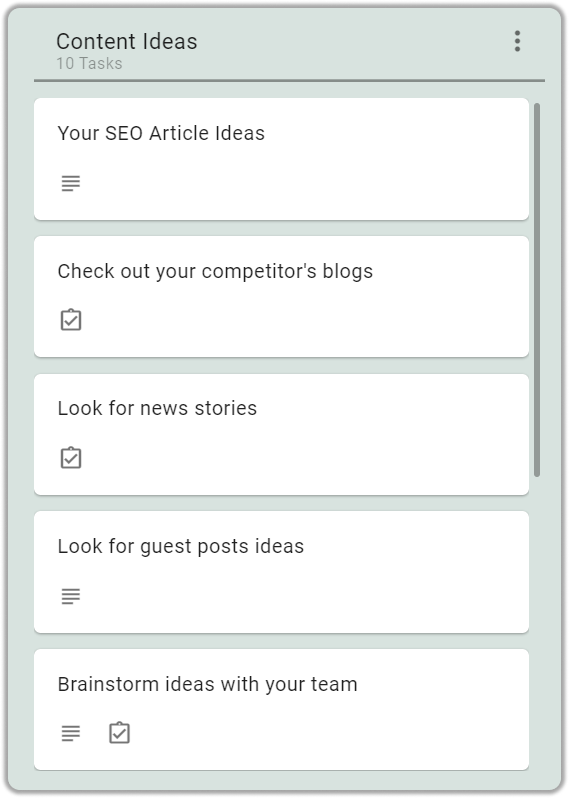
Step 2: Research Content Ideas

Before you start writing, you need to have an idea of what you want to write about. Make a list of content ideas that you think would be popular with your audience.

You can get content ideas by checking out your competitors, looking for news stories, looking for guest post ideas, and brainstorming ideas with your team.

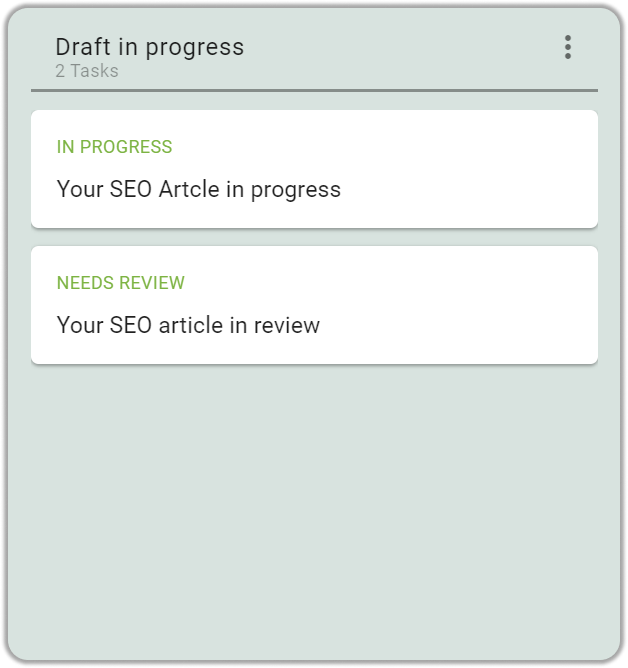
Step 3: Drafting

Now it’s time to start writing your content. Keep your keywords in mind as you write and try to include them naturally in your text.

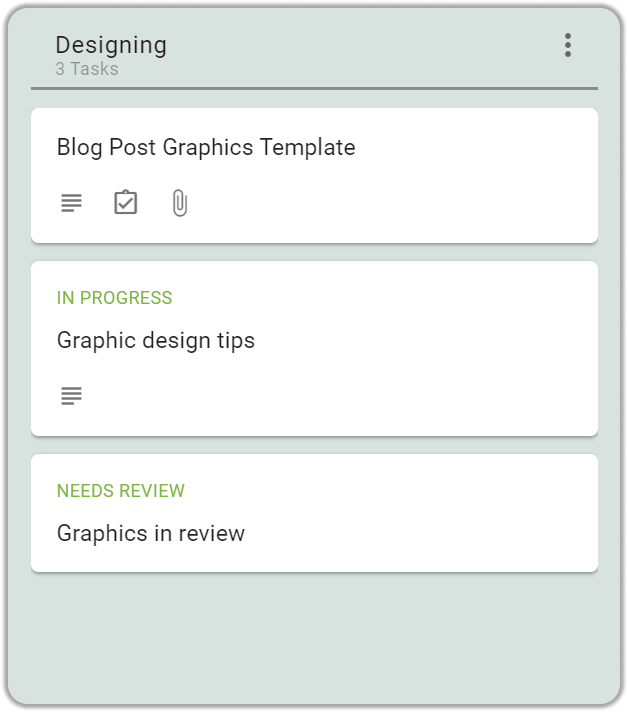
Step 4: Designing graphics content

Graphics in blogs capture your reader’s attention, communicate your message more clearly, and overall make your blog more visually appealing.

Once the article is ready, the next step is to add graphics to it. Graphics are important to capture your reader’s attention and make your blog more visually appealing.

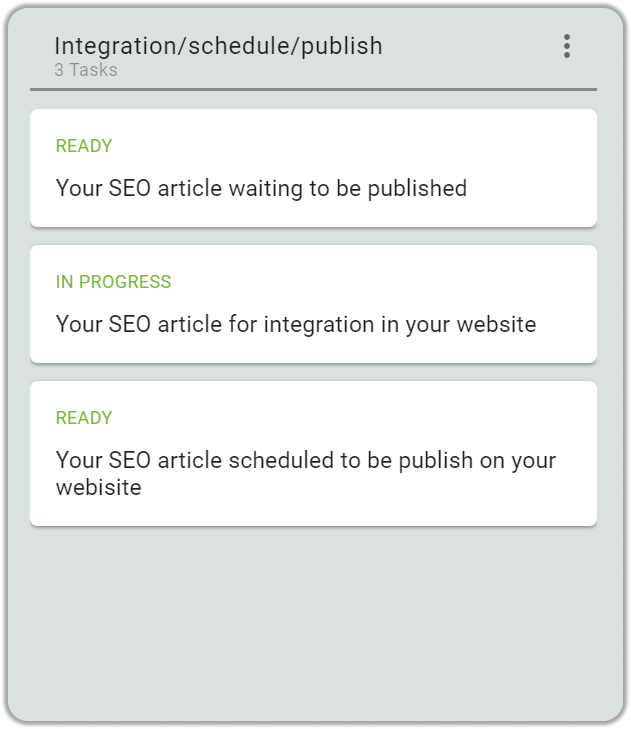
Step 5: Integration/Schedule Content:

Once you’re finished writing, you need to integrate your content into your website. You can do this by adding a blog to your website or by scheduling your content to be published on your website later on.

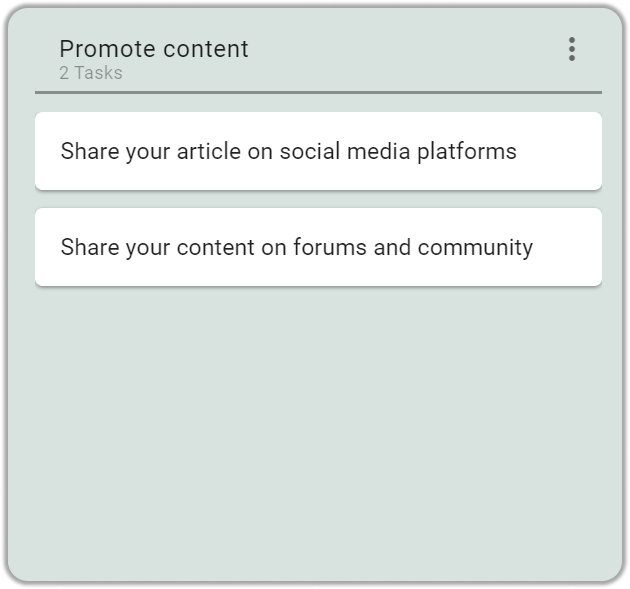
Step 6: Promote Content

Finally, you need to promote your content. You can do this by sharing it on social media, writing guest posts on other blogs, or by paying for advertising.
Like this Template?

You can use it for free!

A change to our Privacy Policy

We have updated our Privacy Policy because we have decided to use Microsoft Clarity, at least on an experimental basis, to understand better how visitors navigate our website.

Microsoft Clarity uses cookies (see here for more details), and you can reject or block them if you want; it won’t affect your use of the website or the app.

We have a lot of different website pages, but we still need a better understanding of how people actually view them, and which parts seem to be most important to our users.

Google Analytics provides some of that information, but not enough, and it looks like Microsoft Clarity will help us optimize our website content.

Let us know if you have any questions or concerns.

How to Manage a Product Announcement

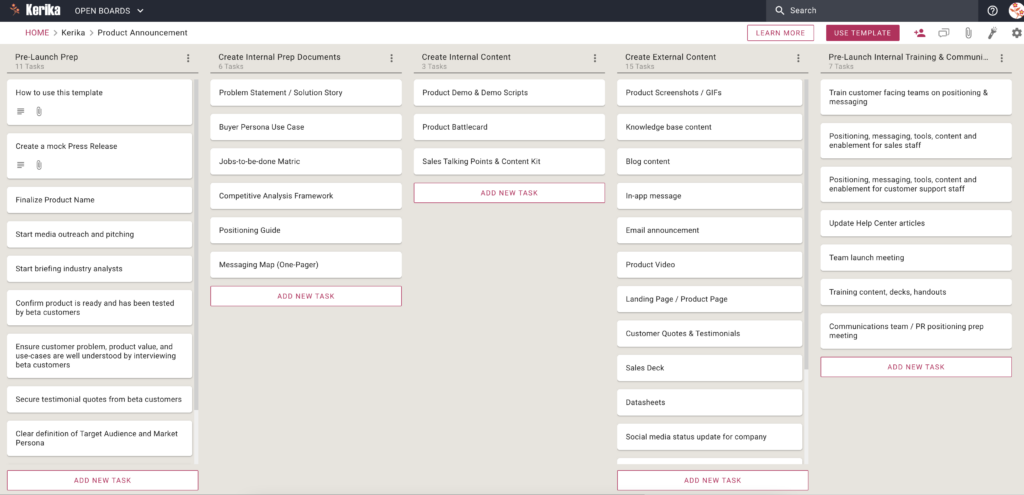
We have a new template that is a very comprehensive checklist of all the activities that a product marketing manager needs to consider, when launching a new product:

Screenshot of template for a Product Announcement
Click to view this template

The tasks are grouped into stages, represented by columns:

  1. Pre-Launch Prep: this includes tasks like finalizing the product name and starting outreach to media and analysts.
  2. Creating Internal Prep Documents: tasks in this include creating a competitive analysis and jobs-to-be-done matrix.
  3. Creating Internal Content: demo materials, talking points for sales team.
  4. Creating External Content: prepping (but not launching!) the product video, website landing pages, etc.
  5. Pre-launch Internal Training & Communications: training the sales  and customer support teams.
  6. Launch Day Execution: the big day! Pushing all the materials you had prepared to production.

To give credit where credit is due, this template is inspired by a blog post by Chris Orlob.

Check out this template and let us know how we can improve it!

How to plan a Virtual Marketing Event

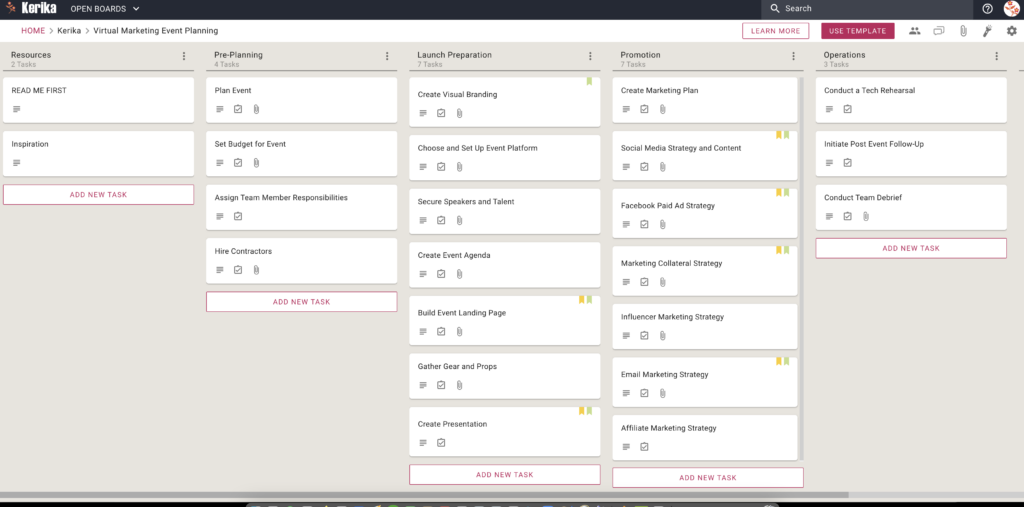
Marketing events look like they will be virtual, rather than in-person, for a very long time, and to help our users we have a template that can set you up in just seconds with a complete Task Board:

Screenshot of template for planning a virtual marketing event
Click to view this template

This is a more elaborate template, with over 20 separate cards organized into a smooth workflow: Pre-PlanningLaunch PreparationPromotionsOperations.

Each card, representing a significant task, comes with helpful resources (as attachments) and detailed subtasks.  Here’s an example:

Screenshot of an example task
An example task from this template

We have been preparing a number of templates for our users. Most recently we have been focusing on our Marketing and Nonprofit users, but we will also be launching templates for many more jobs, to reflect the broad spread of our users around the world.

Check out the template and let us know if we can improve it!

How to manage your YouTube video production

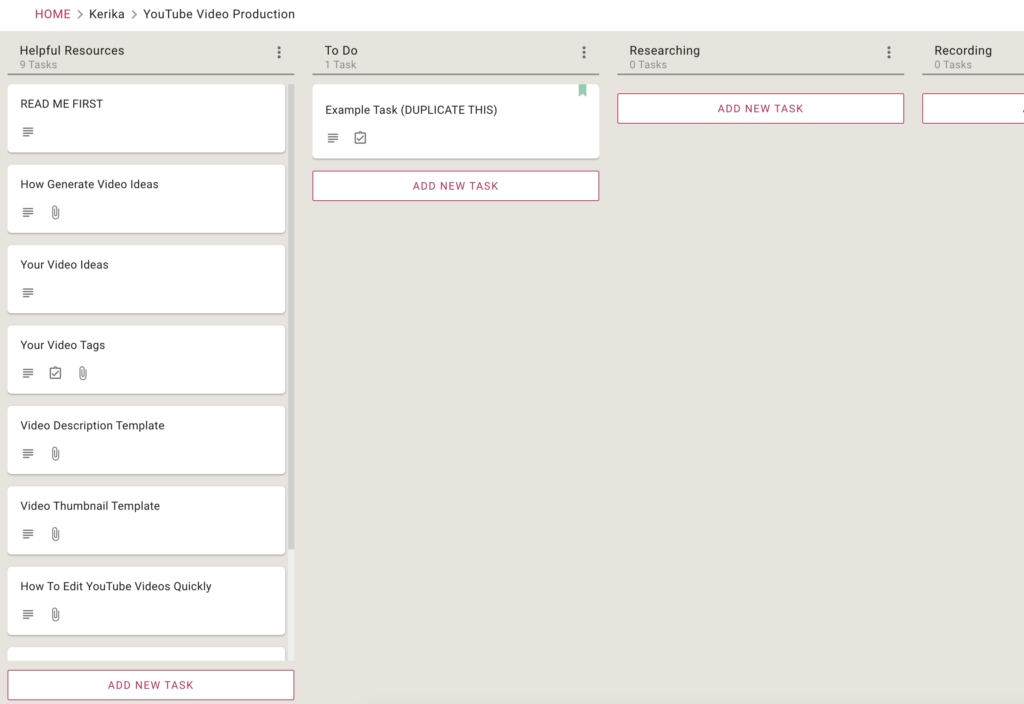
For folks that need to manage production of YouTube videos, we have a helpful template that will set up your Task Board in minutes:

Screenshot showing template for YouTube video production
Click to view this Template

The workflow itself is simple: To DoResearchingRecordingEditingDesigning GraphicsScheduledDone.

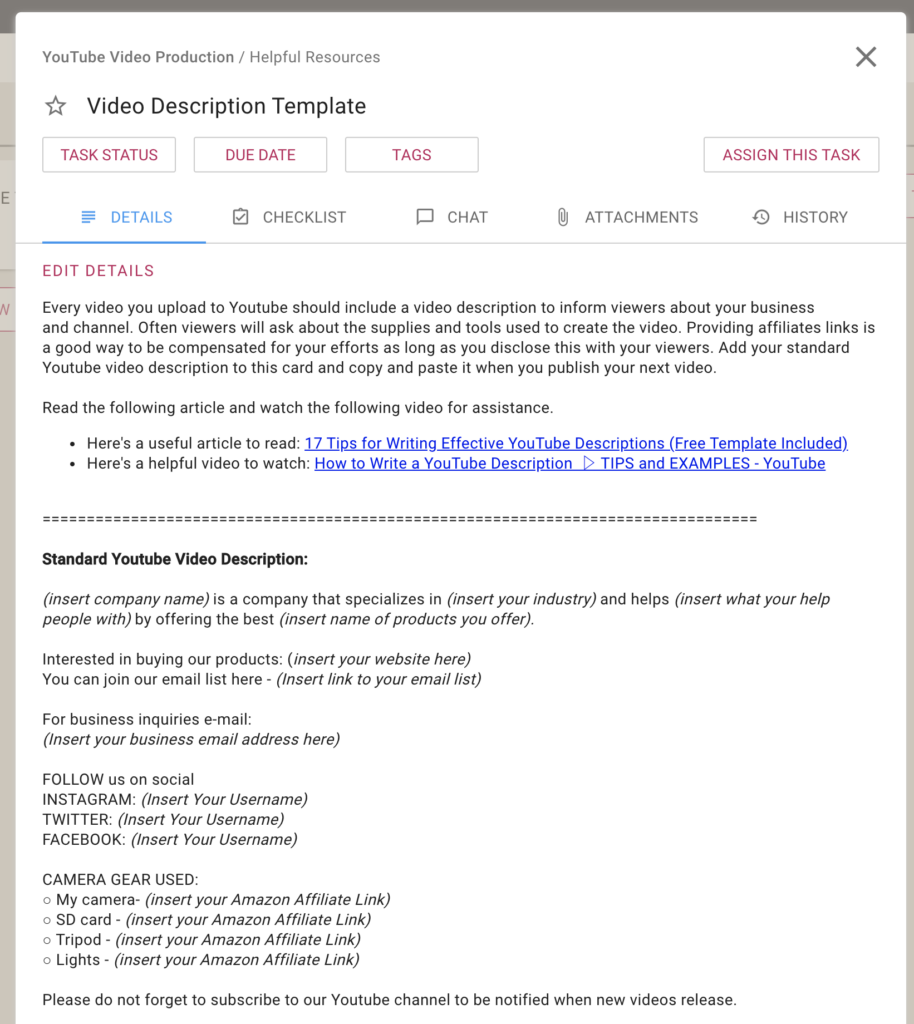
We have included useful links and suggestions in the first column to help you if you are new to YouTube video production.  Here’s an example, on how to produce a video description:

Screenshot showing example resource card
YouTube Resources Example

Check it out and let us know if we can improve it.

Some improvements for Task Auto-Numbering

We got feedback from some users after our last big release on how we could improve the user experience for folks who like to use the auto-numbering feature for Task Boards, and we have made these changes:

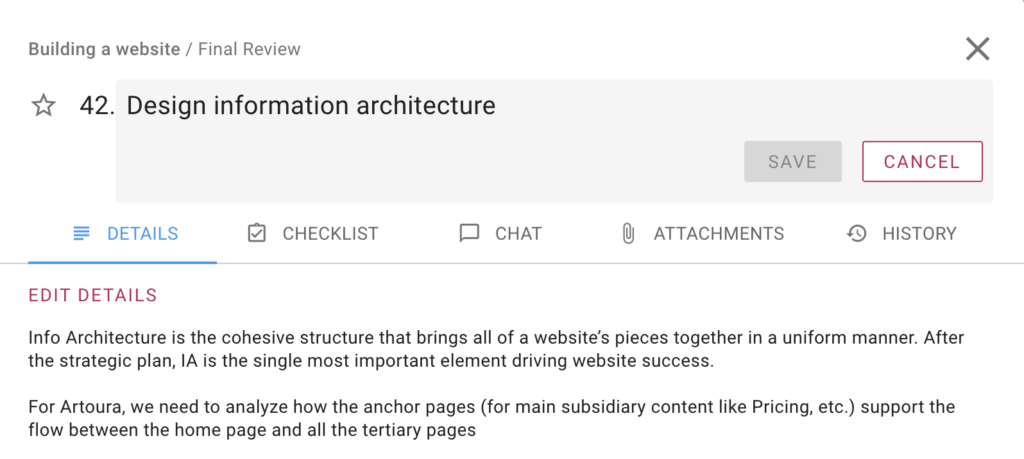
When you open a task, it’s number is shown (but can’t, of course, be edited)

Screenshot showing the Task Details dialog with numbering turned on
Editing a Numbered Task

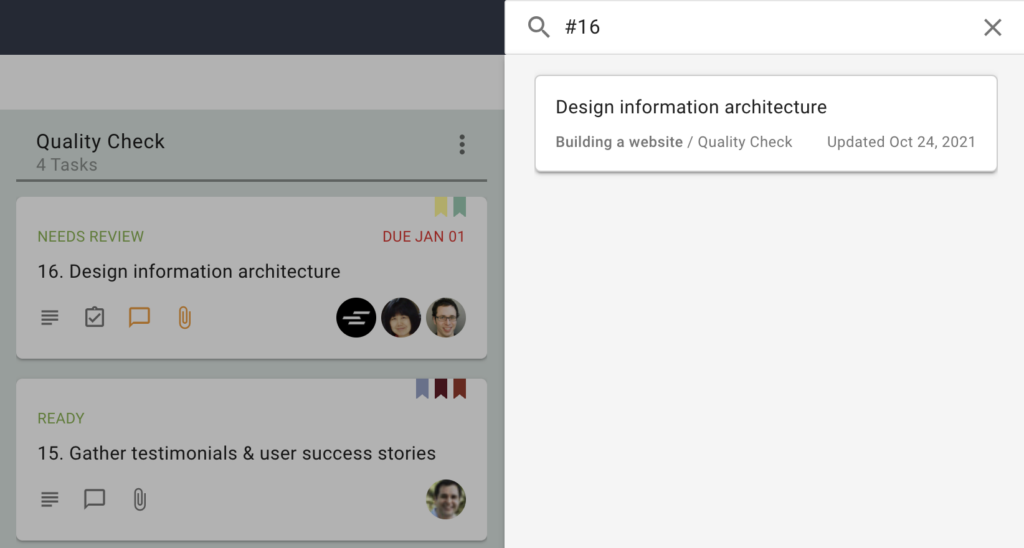
You can now search for a numbered task simply by typing “#number” in the Search box

Screenshot showing how search by task number works
Search by Number