People usually don’t pay attention to the question of who owns a particular board, but it is an important question to consider when you create a new board: the Account Owner owns not just the board, but also all the files attached to cards and canvases on that board.
This is not always important (and often not important in day-to-day use of Kerika): our deep integration with Google and Box ensures that everyone who is part of the board team has automatic access to all the files needed for that board, with access permissions managed according to each individual’s role on the board: Board Admins and Team Members get read+write access; Visitors get read-only access.
(And, as people join or leave board teams, or their roles on a particular board’s team changes, Kerika automatically manages their access to the underlying project files, regardless of whether these are being stored in Google or Box.)
But when someone is planning to leave an organization, the question of ownership can suddenly become important: you don’t want an ex-employee to continue to own critical project files.
Changing ownership of boards was not something that was easily done in the past — there were workarounds, but they were fairly cumbersome and obscure — and we mostly handled these as special requests, on a case-by-case basis.
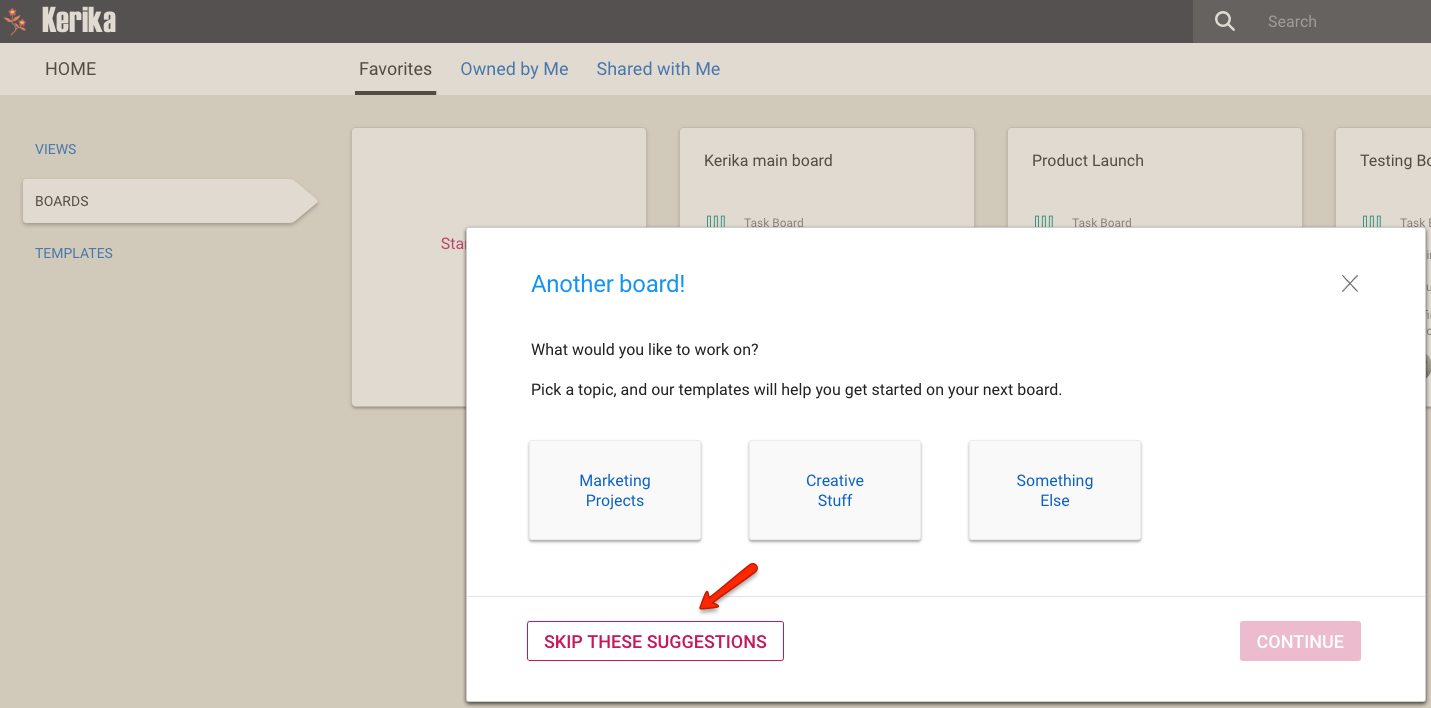
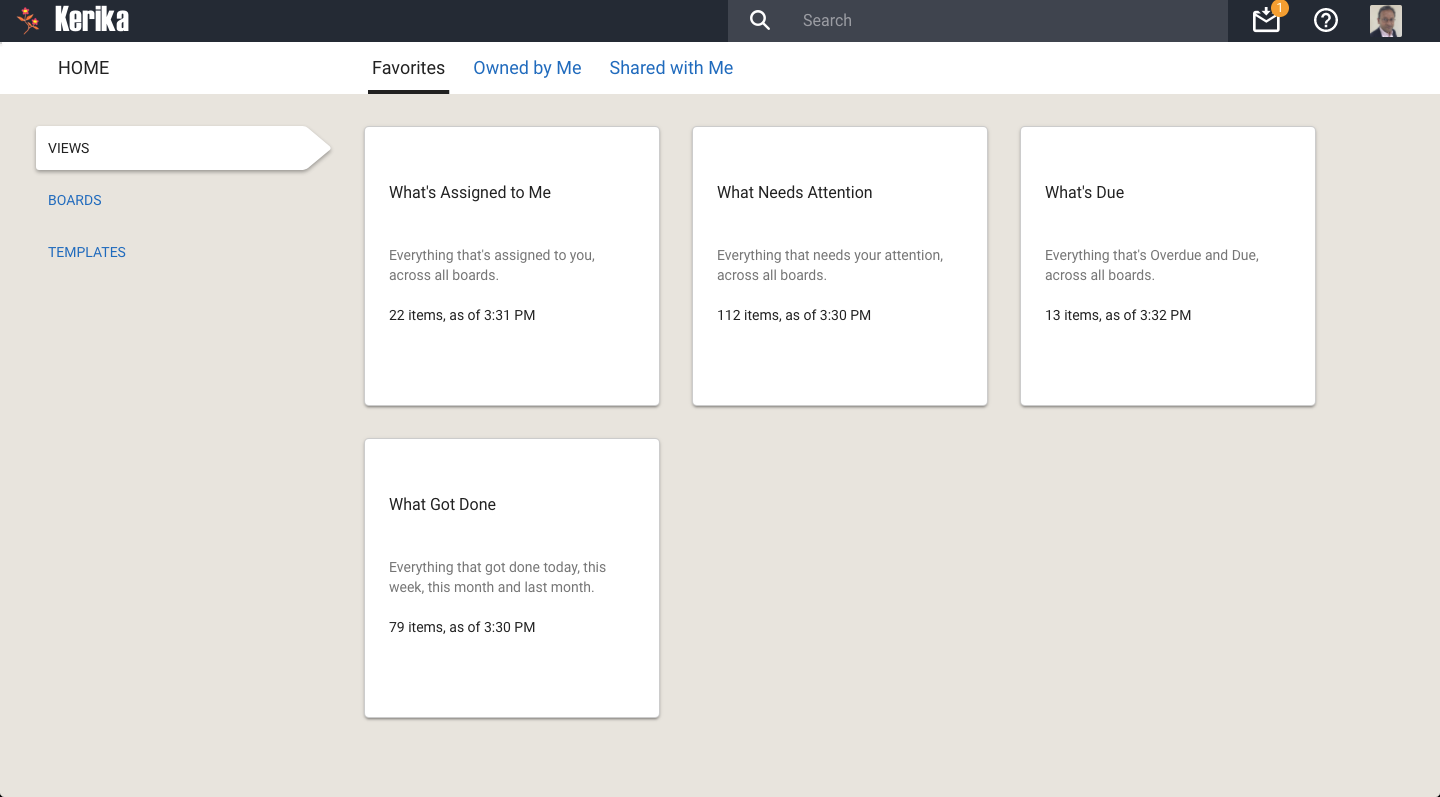
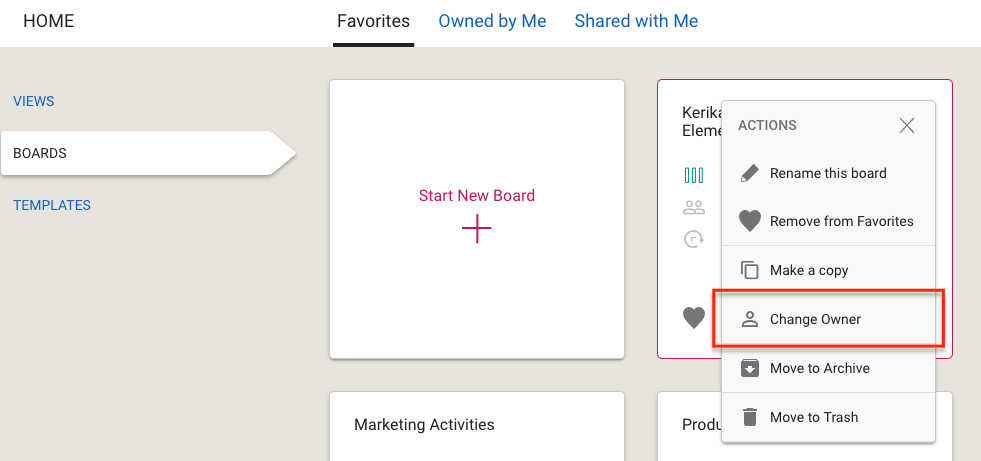
With our newest update to Kerika, this is no longer the case: changing the ownership of a board is a simple process that can be initiated at any time by the current owner of a board:
You can ask any other Kerika user, who has signed up the same way as you did (i.e. either as Kerika+Google, Kerika+Box, or by directly signing up) to take ownership of a board. Because this is a consequential action, not something you should rush into, you are asked to confirm your intention by typing the word “YES”:
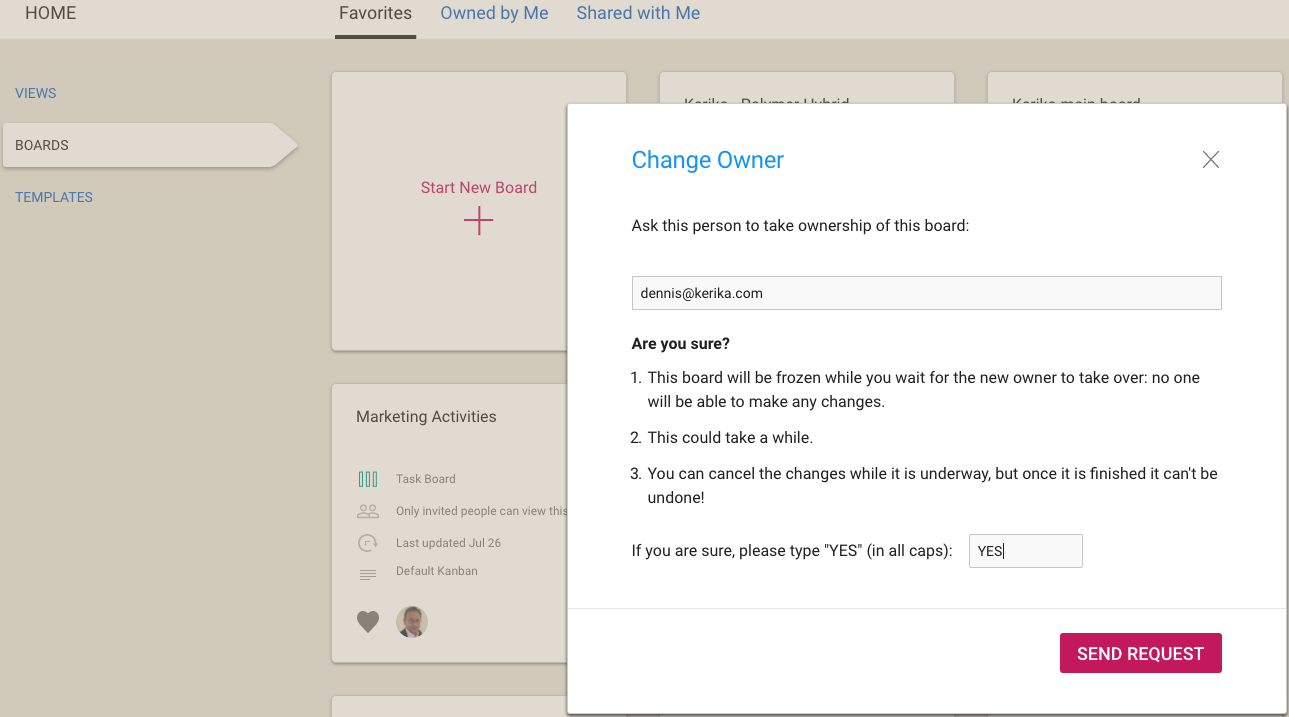
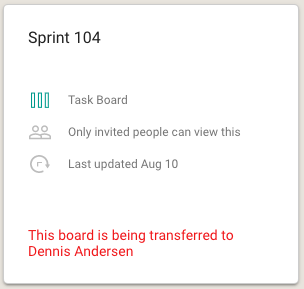
Once your request is sent off to the other user, the board is in a frozen state: existing members of the board team can continue to view the board, but no one can make any changes:

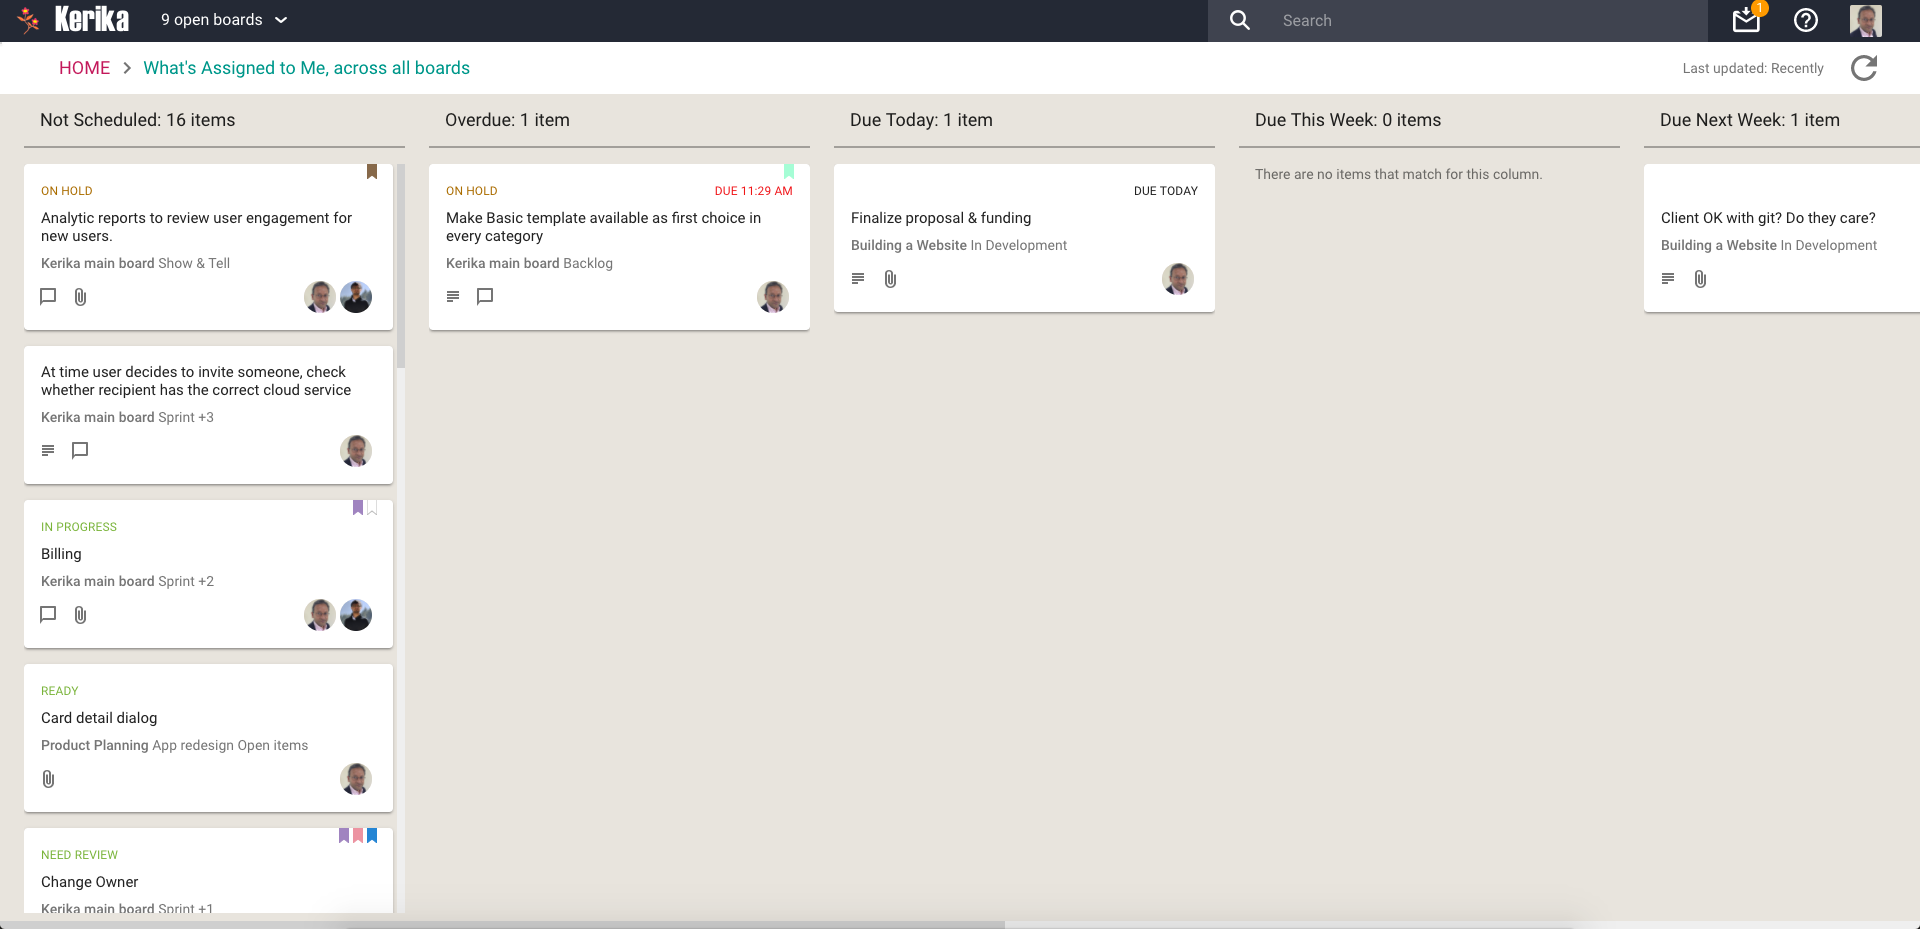
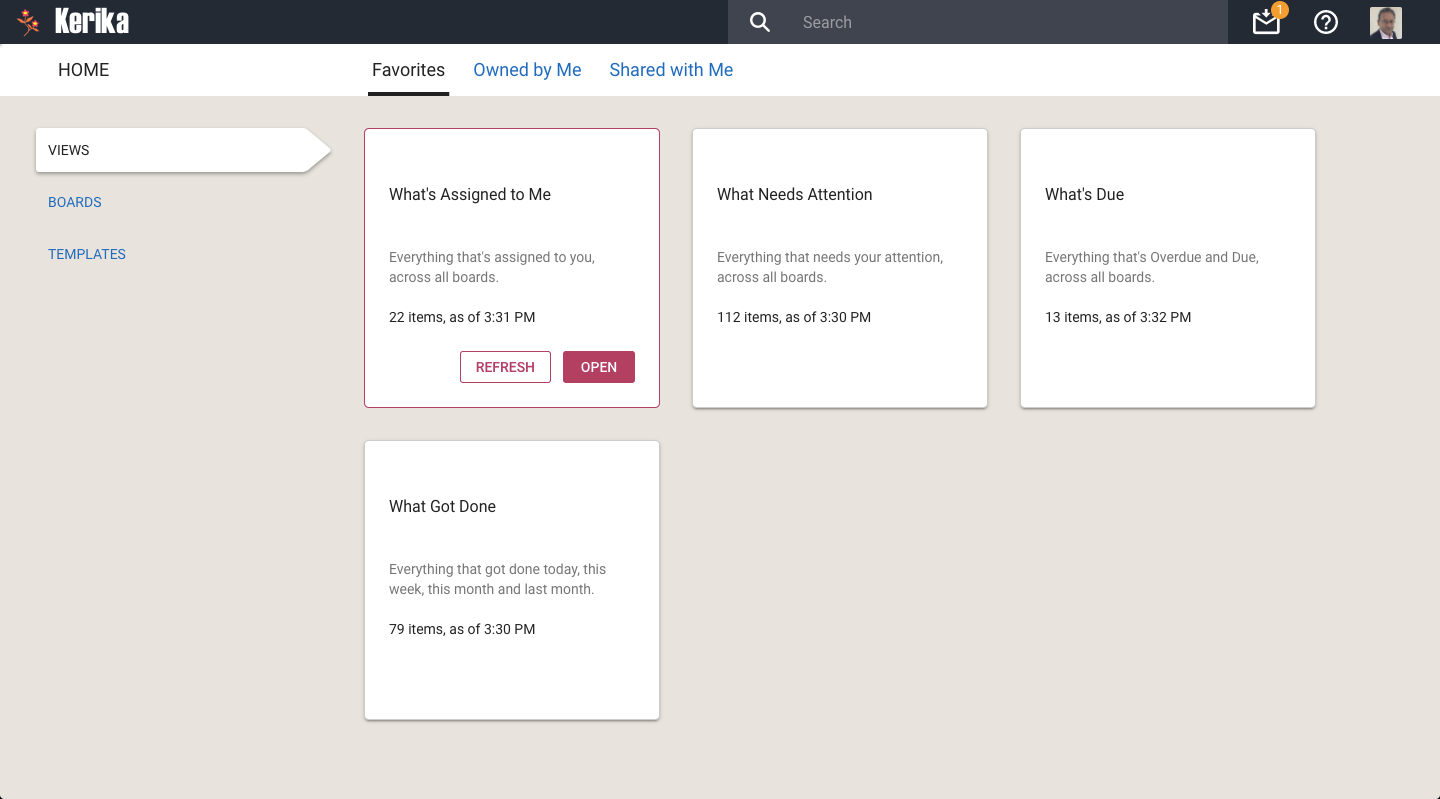
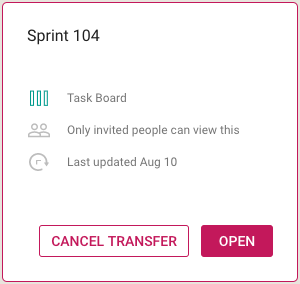
If you change your mind, you can cancel the request before it has been accepted. This can be done by selecting the board from your Home Page:
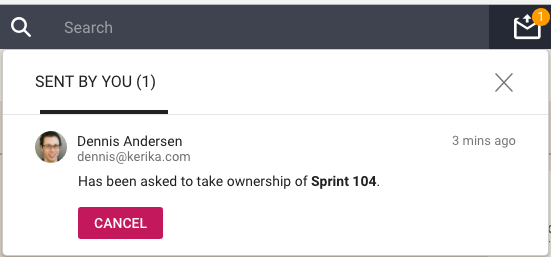
You can also find your pending request in your Sentbox, and cancel it from there:
Note: once a board’s transfer is complete, it can’t be undone by you. If you really need to get ownership back of a board, you will need to ask the new owner to transfer the board to you.
An important caveat for Kerika+Google users
We try to ensure that files attached to a Kerika+Google board have their ownership changed at the same time as the board itself is transferred, but there are some limits to how Google will allow for a change in ownership:
All Kerika-related files are stored in a set of folders in a user’s Google Drive, organized by account and board.
Google let’s us change the owner of a folder, so we can make sure that when a board is transferred the ownership of the associated Google Drive folder is also changed.
However, for the individual files contained within the folder, Google only allows for a change of ownership of files that are part of Google Docs: documents, spreadsheets, presentations, forms, etc.
Files like images (.jpg, .png, .gif), zip files, and PDFs, for example, retain their old ownership between the Google API doesn’t let Kerika change the ownership of these “non-Google-formatted” file types.