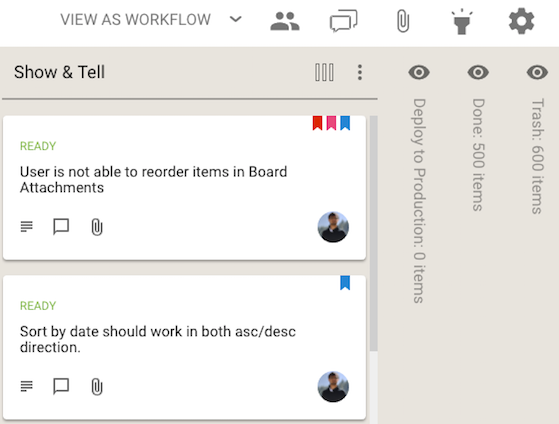
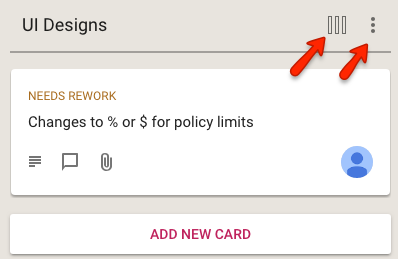
We used to have separate button, and associated menus, for actions related to cards and for actions related to columns:
This reflected the history of the Kerika product: we first designed and built the card actions, and much later added the column actions.
In retrospect, however, we concluded that separating these into two separate menus was not a good idea: it was confusing for our users to remember which menu supported which action. (Even the Kerika team, which uses Kerika for everything that the company does, was having trouble remembering the differences between the two buttons and menus.)
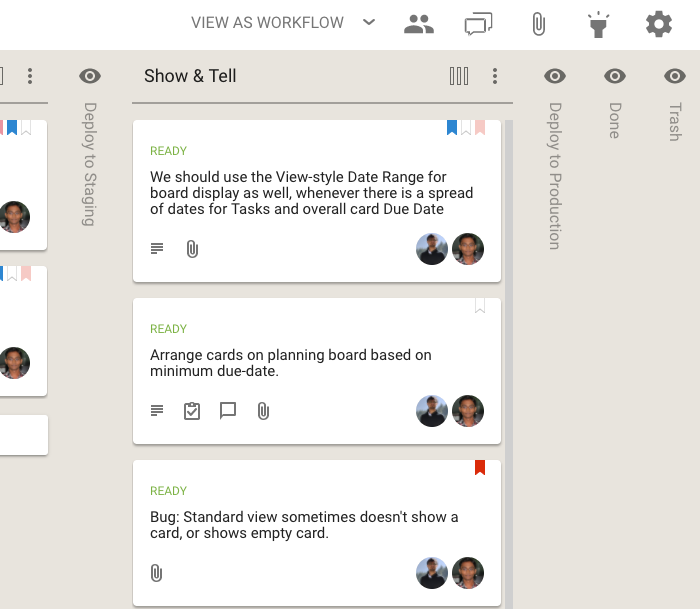
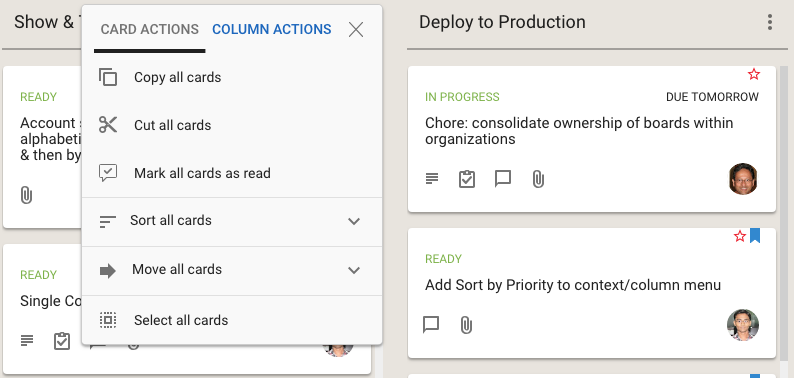
We have fixed that usability problem with our latest release: a single button is shown, and the popup menu that appears includes both card actions and column actions:
Clicking on the Sort and Move actions brings up all the sorting and moving options you have; the Sort menu now has a much richer set of actions:
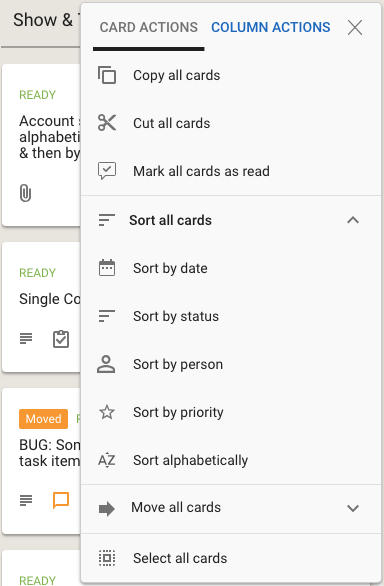
We have also done some small tweaks to the sorting action: Sort by Status now puts the On Hold cards at the bottom of the column, below all the ones flagged as Normal.