Harga lama kami tidak berubah selama lebih dari 10 tahun, dan tidak lagi mencerminkan nilai produk kami, mahupun hakikat bahawa kini kami mempunyai lebih ramai pengguna di luar Amerika Syarikat berbanding di dalam.
Oleh itu, sudah tiba masanya untuk kami mengemas kini model harga kami secara menyeluruh! Dalam catatan blog ini, kami akan merangkum semua perubahan, dan dalam bahagian di bawah, anda akan menemui pautan ke catatan blog dan halaman laman web lain yang membincangkan setiap perkara dengan lebih terperinci:
Harga lebih rendah untuk kebanyakan negara
Selama 10 tahun yang lalu, kami hanya mempunyai satu harga: $7 bagi setiap Ahli Pasukan Akaun, dibayar setiap tahun. Walaupun harga ini agak rendah bagi pasaran Amerika Syarikat, ia menjadi cabaran bagi pengguna dari negara dengan ekonomi yang kurang berkembang dan kuasa beli yang lebih rendah.
Kami kini menjadikan Kerika lebih berpatutan bagi pengguna di luar Amerika Syarikat: harga baharu untuk Pelan Profesional bagi pelanggan di AS adalah $9 setiap pengguna sebulan, atau $90 setiap tahun, tetapi pelanggan dari hampir semua negara lain boleh melanggan pada kadar yang lebih rendah. Ini bermakna pelanggan dari negara dengan ekonomi yang lebih kecil boleh membeli langganan Kerika yang sama seperti pelanggan dari negara yang lebih kaya, tetapi dengan harga yang jauh lebih murah.
Perubahan ini akan dapat dilihat apabila anda mengunjungi halaman harga di laman web Kerika, serta dalam aplikasi Kerika. Harga yang dipaparkan akan merupakan jumlah selepas diskaun, dan ia akan dipaparkan dalam mata wang tempatan anda. Sebagai contoh, pengguna dari Malaysia akan melihat Pelan Profesional berharga RM 20 sebulan / RM 200 setahun.
(Pelan Perniagaan untuk pelanggan di Korea Selatan akan berharga RM 30 sebulan / RM 300 setahun.)
Bayar dalam mata wang anda sendiri
Selain harga yang lebih rendah di luar Amerika Syarikat, kami juga membolehkan pelanggan kami membayar dalam pelbagai mata wang — sebanyak 135 mata wang semuanya.
Ini akan memudahkan orang di negara yang berbeza, yang mungkin menghadapi kesukaran untuk membuat pembelian dalam Dolar AS, untuk membeli langganan Kerika.
Baca lebih lanjut mengenai mata wang.
Langganan Bulanan atau Tahunan
Pengguna yang baru dalam mana-mana perkhidmatan dalam talian mungkin ragu-ragu untuk membeli langganan tahunan sebelum mereka benar-benar biasa dengan perkhidmatan tersebut. Pilihan semula jadi bagi pelanggan baharu ialah membuat komitmen kewangan yang lebih kecil pada awalnya, dengan membeli langganan bulanan. Kami telah memudahkan perkara ini.
Kini, anda boleh membeli Langganan Bulanan atau Tahunan (tetapi tidak boleh mencampurkan kedua-duanya).
Langganan tahunan berharga 10 kali ganda kadar bulanan, jadi jika anda bercadang untuk menggunakan Kerika lebih daripada 10 bulan, adalah lebih jimat untuk mendapatkan langganan tahunan.
Namun, jika anda pelanggan baharu dan masih ragu-ragu untuk membuat komitmen kepada Kerika, kini anda mempunyai cara yang lebih mudah untuk terus menggunakan Kerika selepas Percubaan Percuma 30 hari anda tamat: hanya beli langganan bulanan untuk beberapa bulan, dan kemudian beralih kepada langganan tahunan untuk penjimatan kos setelah anda yakin dengan manfaat Kerika bagi produktiviti pasukan anda.
Jaminan Wang Dikembalikan 30 Hari
Dan untuk memudahkan lagi pelanggan baharu membeli Langganan Tahunan dengan yakin, kami kini menawarkan Jaminan Wang Dikembalikan 30 Hari yang sangat mudah!
Jika anda menukar fikiran dalam masa 30 hari selepas membeli Langganan Tahunan, atas sebarang sebab, anda boleh meminta bayaran balik penuh dalam bentuk tunai.
Kini anda tidak perlu risau sama ada anda membuat keputusan yang salah apabila mengklik butang Beli!
Baca lebih lanjut mengenai Jaminan Wang Dikembalikan 30 Hari kami.
Bayaran Balik Lain hanya dalam bentuk Kredit Kerika
Sistem lama kami untuk mengira dan menguruskan bayaran balik adalah sangat rumit: ia mencipta kesulitan dalam sistem bil kami, dan kesulitan itu seterusnya menyebabkan pelbagai masalah yang menjejaskan pelanggan dan kami sendiri.
Kami kini beralih kepada sistem yang lebih mudah: jika anda membatalkan langganan, anda akan menerima kredit pro rata dalam akaun Kerika anda, yang boleh digunakan untuk pembelian pada masa hadapan. Kredit ini tidak akan luput dan tidak boleh ditebus dalam bentuk tunai: ia hanya boleh digunakan untuk pembelian akan datang.
Baca lebih lanjut mengenai Dasar Bayaran Balik kami.
Diskaun Akademik & Badan Bukan Keuntungan
Pelan Akademik & Badan Bukan Keuntungan yang lama membenarkan Pasukan Akaun sehingga 10 orang menggunakan Kerika secara percuma. Walau bagaimanapun, ia sukar untuk dikendalikan, sering disalahgunakan, dan tidak dapat membantu semua sekolah, universiti, dan organisasi bukan keuntungan.
Pelan Akademik & Badan Bukan Keuntungan kini akan berfungsi sebagai diskaun mudah sebanyak 50%: jika anda layak, anda boleh membeli mana-mana pelan pada separuh harga, dan tidak akan ada lagi had bagi saiz Pasukan Akaun anda. Pelan baharu ini memudahkan organisasi yang lebih besar untuk menggunakan Kerika di seluruh organisasi mereka.
Baca lebih lanjut mengenai Diskaun Badan Bukan Keuntungan.
Kebanyakan Pembelian Perlu Dilakukan Secara Dalam Talian
Kami sebelum ini menawarkan pilihan untuk meminta invois yang boleh dibayar menggunakan cek bank atau pemindahan terus, tetapi malangnya, pilihan ini sering disalahgunakan oleh sebilangan pengguna yang meminta invois tetapi tidak membayarnya, serta mengabaikan e-mel peringatan kami!
Dengan sistem baharu kami, pilihan untuk membuat pembelian luar talian (iaitu, meminta invois) hanya tersedia kepada pelanggan tertentu. Beberapa pelanggan lama kami telah menggunakan kaedah luar talian selama bertahun-tahun kerana itu satu-satunya cara mereka boleh membuat pembelian — situasi biasa bagi mereka yang bekerja dalam sektor kerajaan atau syarikat besar yang memerlukan invois diproses melalui jabatan Akaun Belum Bayar mereka.
Bagi pelanggan lama ini, kaedah luar talian akan terus tersedia, tetapi akan dikuatkuasakan dengan lebih ketat: jika invois tidak dibayar tepat pada masanya, langganan yang berkaitan akan dibatalkan.
Jika anda pelanggan baharu yang memerlukan kaedah luar talian, sila hubungi kami!
Lebih Mudah Menggantikan Pengguna dalam Akaun
Dengan sistem harga baharu, pelanggan kami kini boleh menggantikan satu pengguna dengan pengguna lain tanpa dikenakan caj tambahan, selagi penyingkiran pengguna lama dan penambahan pengguna baharu dilakukan pada hari yang sama.
Jika seorang pengguna dikeluarkan daripada Pasukan Akaun dan pengguna lain ditambah pada hari yang sama, sistem tidak akan menjana sebarang transaksi bil.
Lebih Banyak Butiran dalam Sejarah Bil Anda
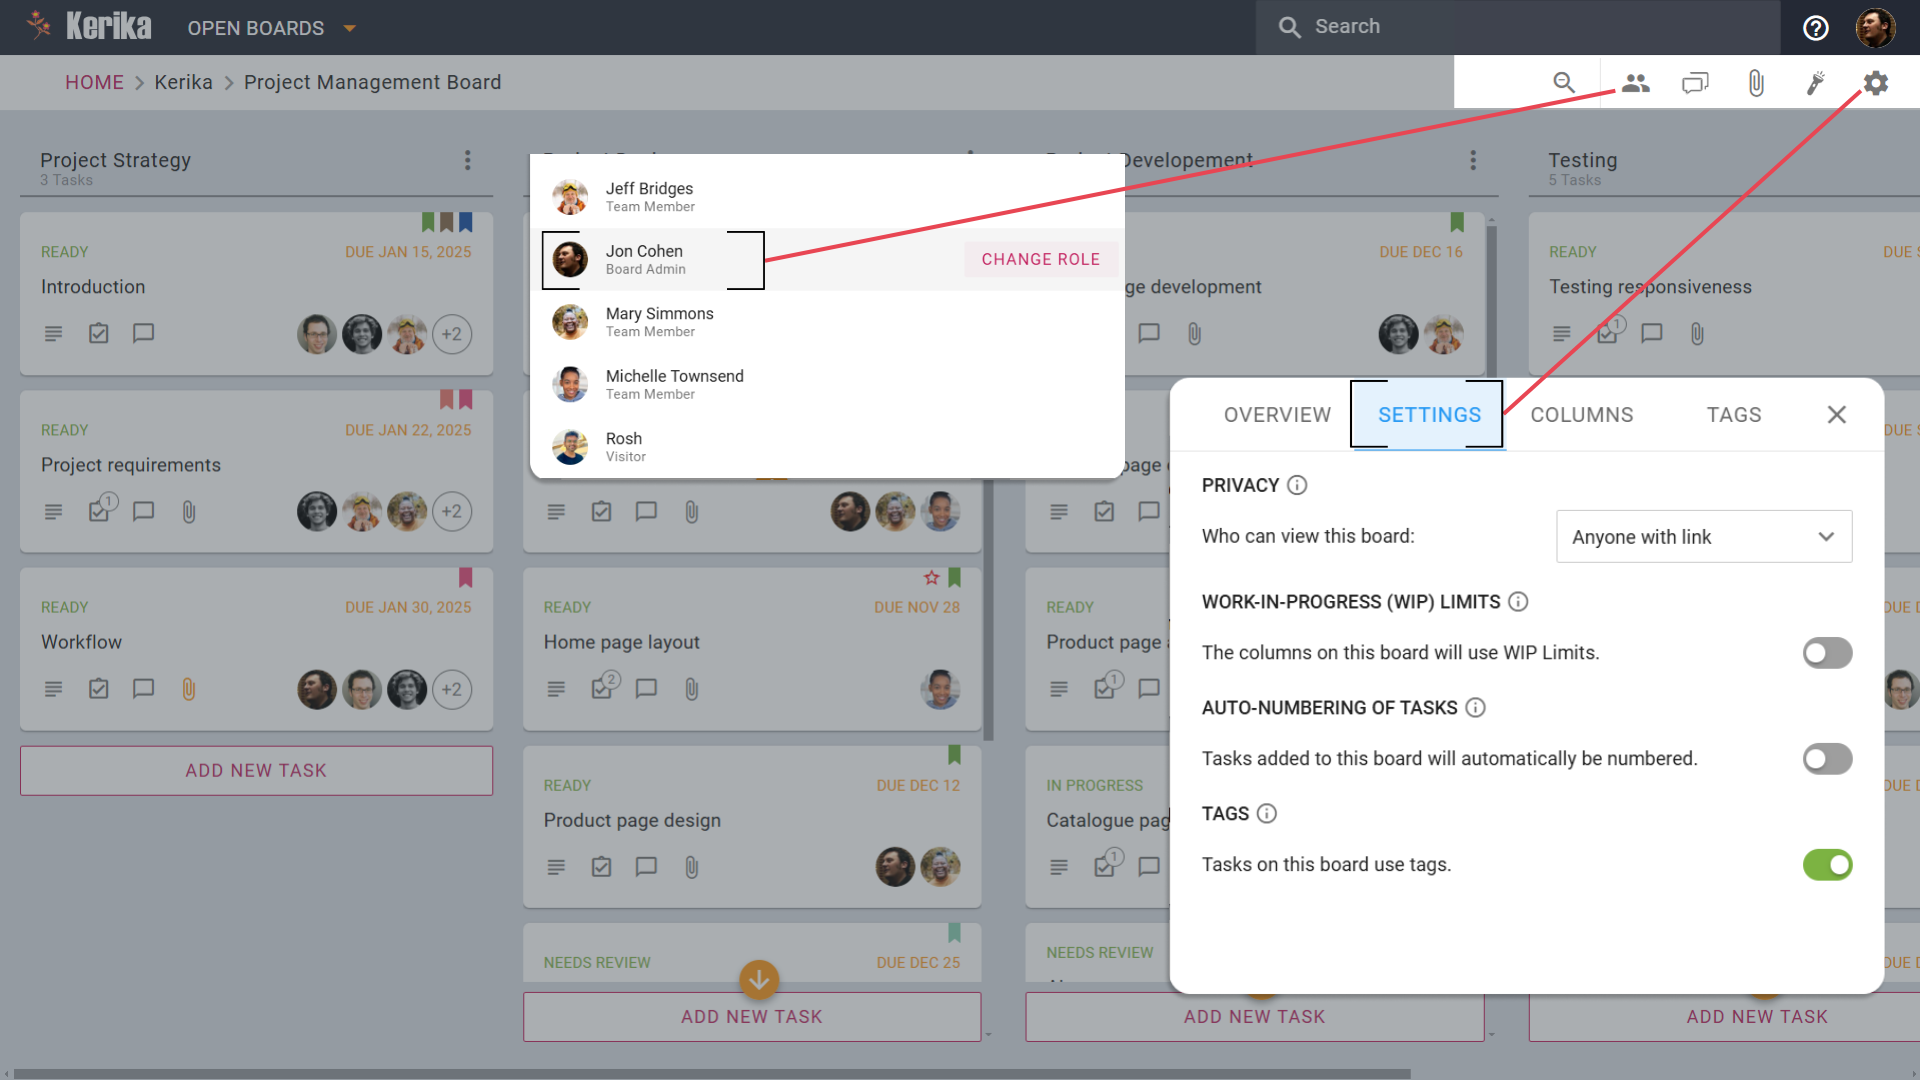
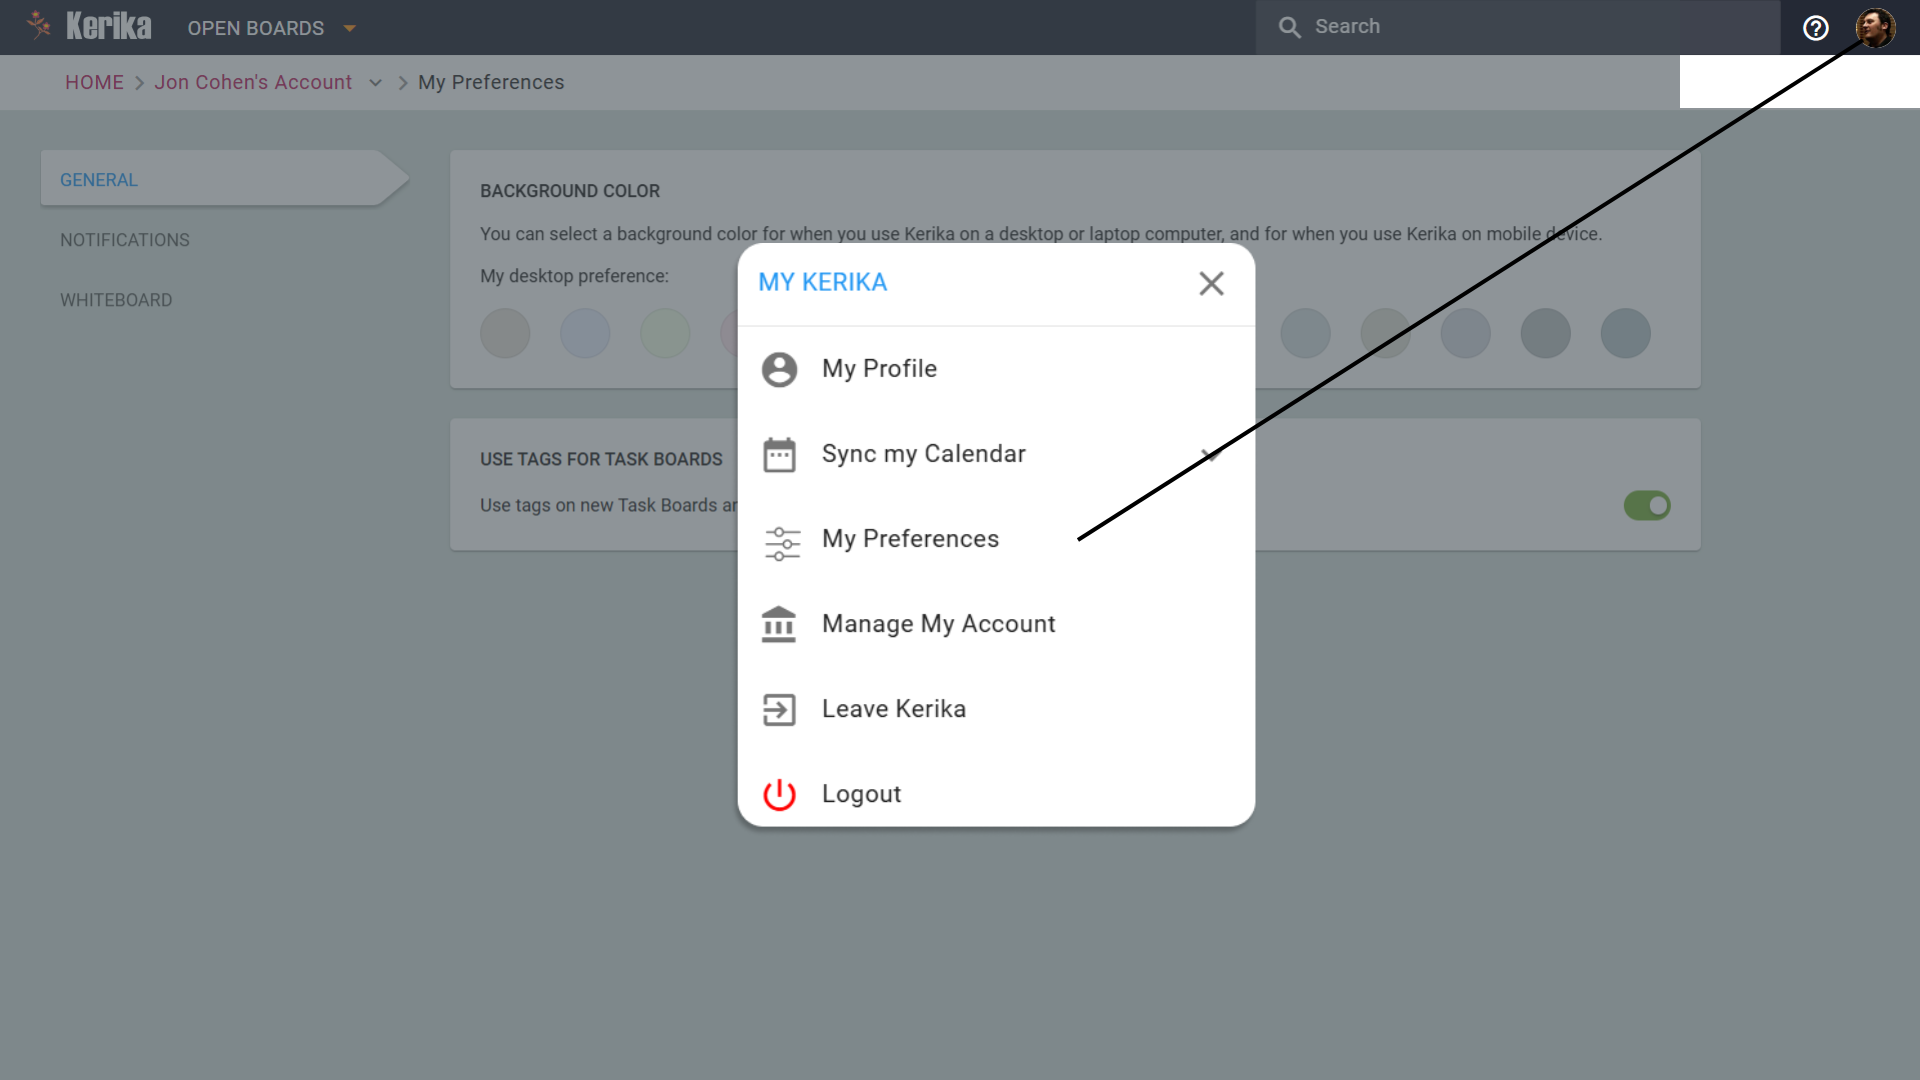
Skrin Sejarah Bil, yang boleh diakses dengan mengklik pilihan Urus Akaun dalam menu yang muncul apabila anda mengklik avatar anda di bahagian atas kanan aplikasi desktop, kini akan mengandungi lebih banyak maklumat mengenai perubahan yang dibuat, seperti menghidupkan/mematikan auto-pembaharuan, menambah pengguna, dan sebagainya.
Ini akan membantu pelanggan memahami dengan lebih baik bagaimana bil mereka berubah dari semasa ke semasa.
Peralihan yang Lancar
Jika anda sudah menjadi pelanggan Kerika, pelan anda akan diteruskan seperti biasa sehingga tamat tempohnya.
Sebarang Soalan atau Kebimbangan?
Kami faham bahawa perubahan harga boleh menyebabkan kebimbangan bagi sesetengah pengguna. Kami sedia membantu menjawab pertanyaan anda dan mendengar maklum balas anda. Hubungi kami!